


I64N Base Cleaner liquid 500 ml
Price: EUR 15
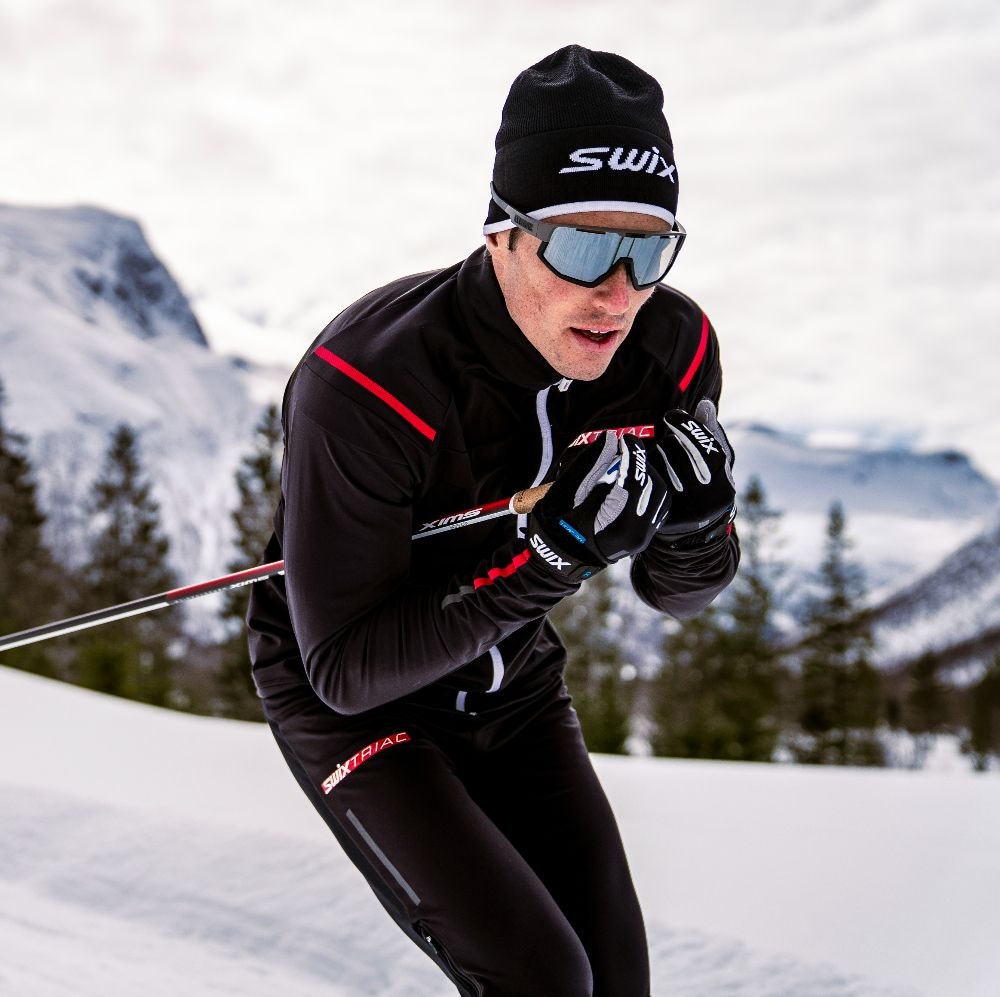
Waxing skis is very simple, but you need to do it right. This beginner guide will learn you you the basics on how to prep your skis.
First things first, you need to work with the grip zone on your skis. The vast majority of sport retailers will mark up the grip zone for you, when you buy skis. If you don't know where the grip zone is, we recommend a trip to a sport retailer to get it measured.
The grip zone is always in the middle of the skis, but the tension of the skis and your weight depends on how far you wax from the middle.
If you know approximately where your grip zone is, follow the steps below.
Step 1: Clean your skis
Start by cleaning your skis. Start med å vaske skiene. You do this by using some fiberlene, add some Base Cleaner to it, and start cleaning old ski wax from your skis. When the old ski wax is gone, use fiberlene (no Base Cleaner this time) and clean. We recommend you keeping your skis indoors or in a storage room when not in use.
Step 2: Polish the grip zone
Polish the grip zone using sand paper. That way the ski opens up and will hold ski wax longer when skiing.
Step 3: Add Base Wax
You can either spray on base wax or use an iron if you have one. We recommend using an iron when adding the Base Wax.
Step 4: Add thin layers of kick wax
You've probably noticed the kick have different colors. We have added color to make it easier for use selecting the right kick for the right snow temperature.
Note that there are different varieties of blue, violet and red kick wax. Therefore, read on the label what temperature it is suitable for.
Recommended kick wax when being in Norway can always be found on our digital ski wax expert Griptip. Griptip can also be found directly in the Skisporet app.
If Griptip recommends four layers of Blue Extra (V40), first apply a thin layer before using a cork to even it out in the grip zone. Repeat this process four to eight times.
Is the snow wet, transformed or "old" it's often adhesive for klister. We have created a klister guide you can read here.
Although it is regularly important to saturate the sole by melting in sliding blocks with a grease iron, you can use a liquid (fluorine-free) glider as an everyday product to get a better glide on your skis. Liquid gliders are also adapted to different temperatures, so check the thermometer before spraying on your skis.
Remember: On classic skis, gliders should only be applied in front of and behind the attachment zone, never in the fastening zone itself.
On skate skis, gliders must be applied to the entire ski. If you follow the procedure below, you will have a good glide for 30-50 km, before the process should be repeated.
Spray on floating gliders either directly on the skis, or on a cap with felt - which you then drag over the slip zones, front and rear attachment zone on classic skis.
Let the slider dry for 15 minutes.
Brush off lightly with a blue nylon brush on the front and back slip zones. Brush in the direction out of the skis so that the slider does not end up in the attachment zone. Now all you have to do is enjoy your ski trip